Spray Bar
Part #WS154
Utilize normal safety procedures and
precautions when dis-assembling and
re-assembling the spray bar
KIT INCLUDES
3/4” tee
3/4” elbow
(2) 3/4” caps
fitting
(2) spray bars
(8) nozzles
1. Utilizing pipe dope, connect the tee, bars and caps to each other. We use Tru-Blu by Rectorseal, but any pipe thread sealant will work.
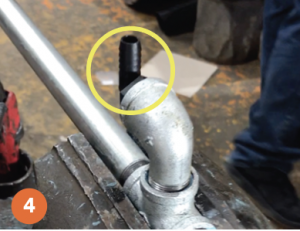
2. Tighten all connections. In our video we utilize a pneumatic wrench, but you don’t have to. You just need to be sure to get tight connections everywhere. The other important thing to note, as you can see at 1:50 in the video, is to have THE HOLES ON BOTH BARS ORIENTED IN THE SAME DIRECTION AND AWAY FROM THE OPEN END OF THE TEE FITTING.
3. Connect the elbow fitting into the tee, again using thread sealant of some kind. Tighten this connection, ensuring that the elbow fitting is aligned with the spray bar when complete.
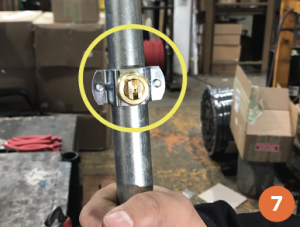
4. Using pipe thread, connect the plastic fitting to the elbow.The fitting, after installation, needs to point away from the spray bar assembly as seen at 3:31 in the video.
5. Loosen bolts from each of the 8 nozzle assemblies. Eventually one bolt from each assembly will need to be completely removed. Retain the loose bolt for use in later steps.
6. Discard cardboard protector from nozzle assembly and insert into one of the spray bar holes. Attach the nozzle assembly onto spray bar. Repeat for each of the remaining 7 locations.
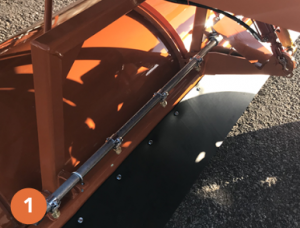
7. Tighten each of the 16 bolts in order to ensure a secure assembly onto the spray bar.
Tighten the nozzles by turning ¼ turn (3:14 in the video). Tightening the nozzles any tighter that this will result in damage to the filter. Make sure to align the nozzle pattern so that the spray pattern is in line with the spray bar.
Note the direction of the nozzle as it relates to the orientation of the spray bar. This is the preferred orientation for optimum
performance.
Assembling the bar to your machine
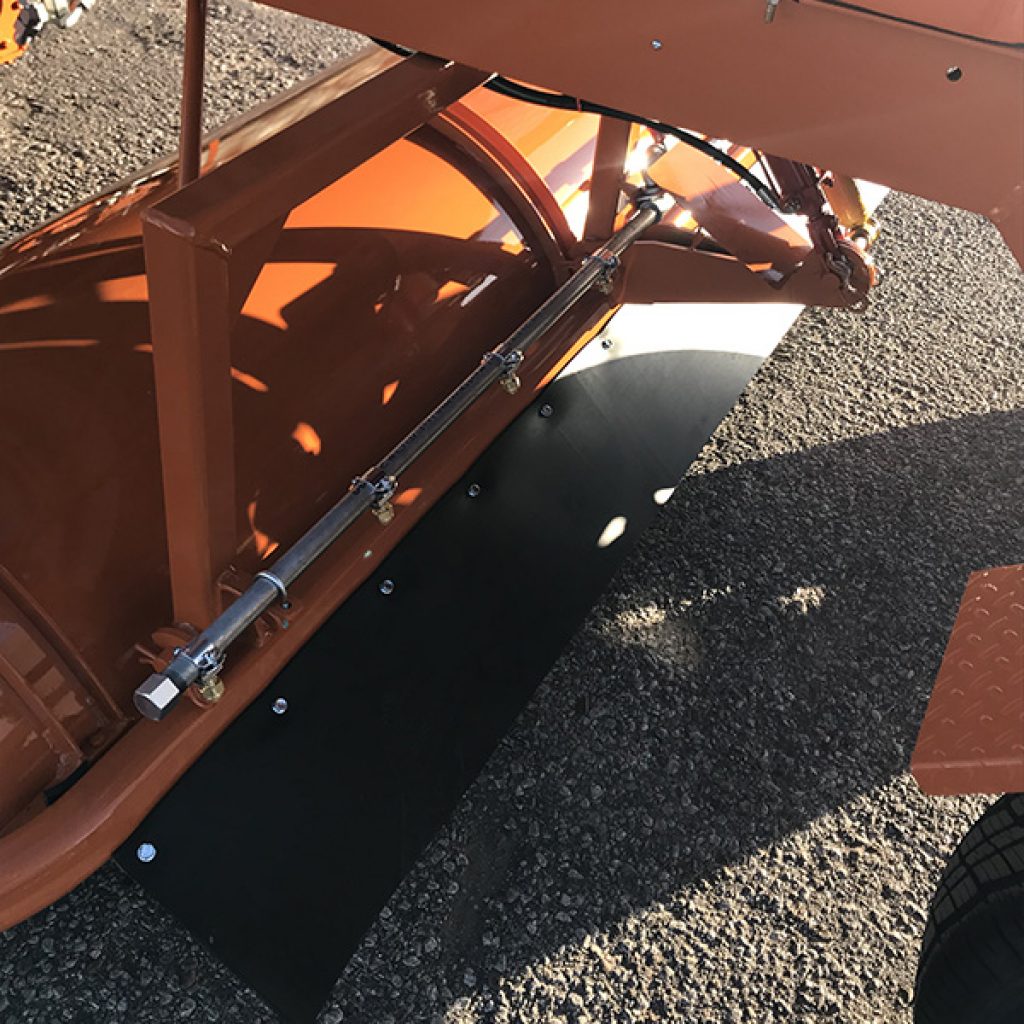
1. The image to the right is the spray bar system you are replacing. It is located in front of the brush.
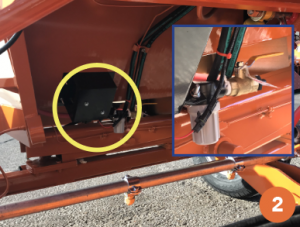
2. On the front of the vehicle, just under the water tank, is the water pump with a shut off valve. The valve is in the “open” position. Closing this valve will help prevent draining the water tank during this process.
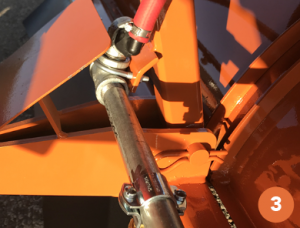
3. Loosen the clamp from the plastic fitting, retaining the clamp. Then remove the hose from the fitting. It is normal for some water to drain from this hose once detached.
4. The spray bar system is attached to the Broce 350 with 3 U-bolt connections. Each one of the 3 U-bolts will need to be removed for replacement of the spray bar system. Be sure to retain the 3 U-bolts and nuts for use when you are assembling the new bar.
5. Reattach the hose to the fitting using the clamp from the disassembly.
6. Finally, reopen the spray bar valve after installation and prior to use.
