Brush and Core
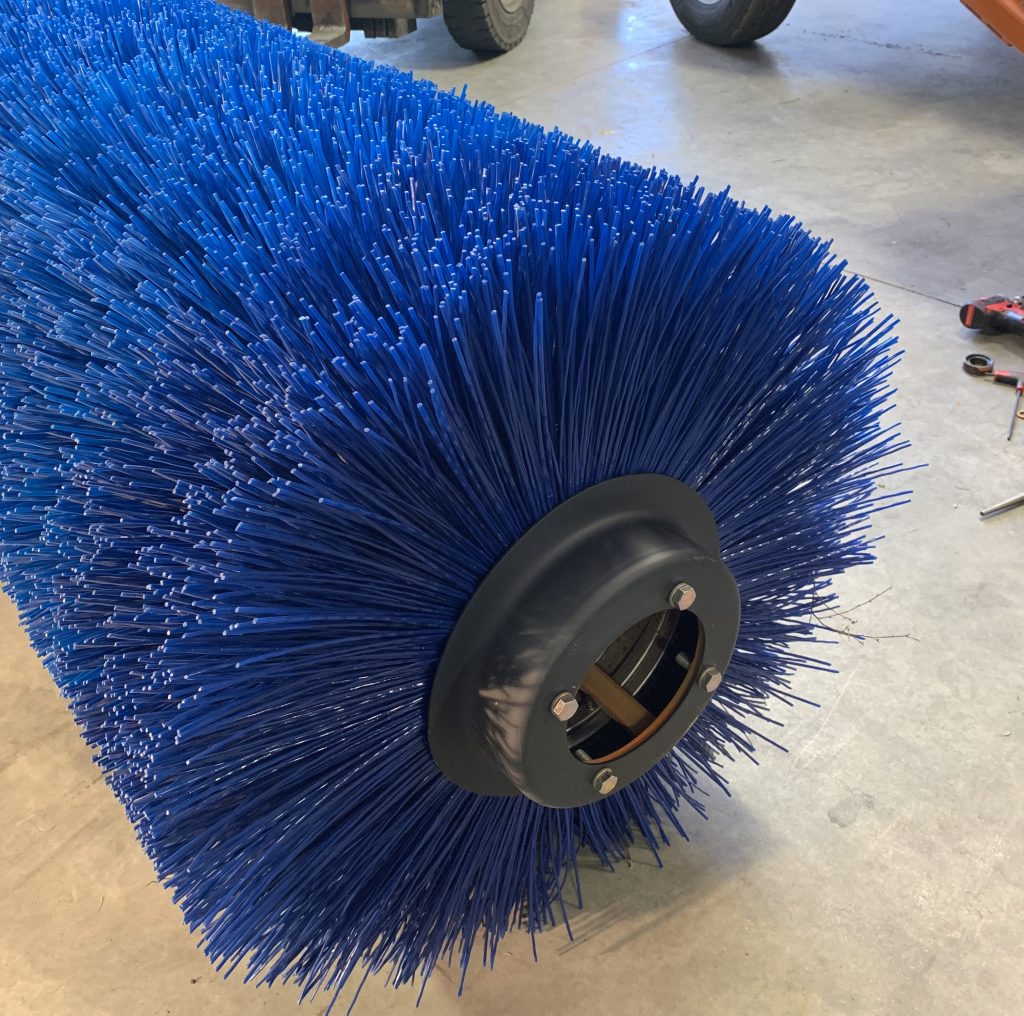
Part #’s listed below
Broce carries a large variety of wafer types for your sweeper. A list of part numbers are below or you contact the parts department for details.
BEFORE GETTING STARTED
- Ideally wafer replacement should be done in a location where it is easy to hoist the core upright.
- Tools that you’ll need are: 3/16 Allan wrench, punch, hammer, crowbar, floor jack and a tape measure.
1. Start on the passenger side of the broom, the opposite side of the motor.
2. Take the 3/16 Allen wrench and loosen up the lock collar on the idler shaft bearing.
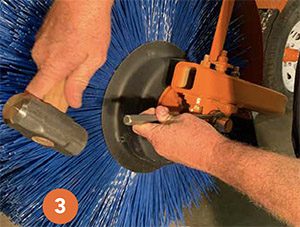
3. Rotate the brush until you see the hole on the lock collar. Using a punch and a hammer, insert the punch in the hole and hit it going clockwise to get it to come loose. Remove the lock collar.
4. It is possible that the collar may be difficult to get off due to road grime, you may need to polish it up and just use some sandpaper to remove the extra build up to remove it.
5. Then, take a ratchet and loosen the two bolts on the idler shaft bearing.
6. The brush and core will then drop down off the core frame.
7. Remove idler bearing from idler shaft.
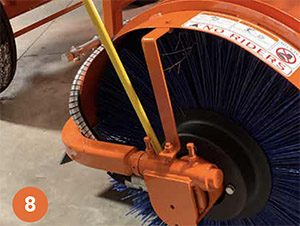
8. You’ll then need to go to the driver’s side and using a crowbar, push the brush off the drive motor far enough to allow it to be pulled out from passenger side.
9. Once loose, you can pull the entire core through so that you can remove the brushes.
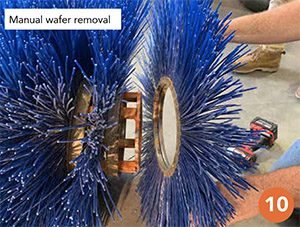
10. Now, there are two ways to remove the wafers – manual in the field or via lift in a shop.
11. Ideally, you will want to be in a shop as it is much easier to lift the entire core and allow the brushes to drop. However, if you are in the field, you can simply take the end caps off and manually pull the wafers off one by one.
12. If in a shop setting, utilize the following method:
13. Once you’ve got the bell end cap off the one side, you’ll want to head over to the other side of the brush and remove the bell cap from there.
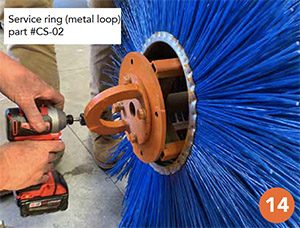
14. Attach the metal loop (Part #CS-02) so that you can lift the core in an upright position to remove the wafers.
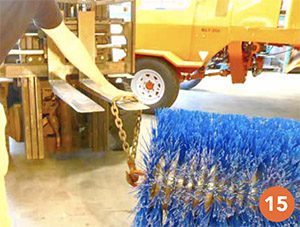
15. Using a chain with a hook, attach the chain to a forklift arm or an overhead hoist.
16. The forklift or hoist can slowly lift the brush core assembly. Once high enough, if there isn’t a lot of build up the wafers should fall off. If not, you may need to use your hands to get them off.
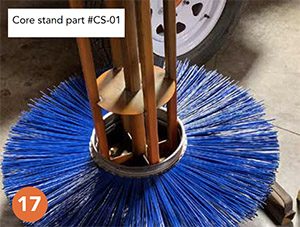
17. Now that you have an empty mandrel, set it upright on the core stand (Part #CS-01) so you can start adding the new wafers to it.
18. All cores start with the same pattern and ends with the same pattern – two poly wafers then a spacer. From there, you can configure your wafers in the pattern that works best for you.
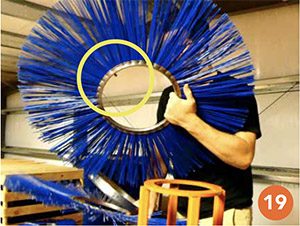
19. Keep in mind that as you are adding your wafers, you should be rotating them or “clocking” them on the steel core, in-between each bar in a clockwise pattern. You will see a little tooth. That needs to be what you use as your guide, to place it in-between the bars. This prevents uneven brushing or wear on the new wafers.
20. Keep moving through each section until you’ve added all the wafers and spacers to fill up the core.
21. Make sure that your wafers are on tight and not loose. They shouldn’t be easy to rotate by hand.
22. Now that your core has new wafers, put back on your bell end caps.
23. Drag your brush over to your broom and slide it back in from the passenger side.
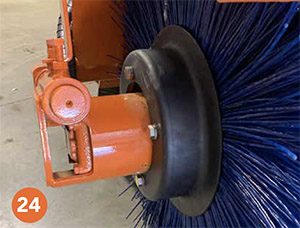
24. Going back to the driver’s side, you’ll want to mount the broom on the brush motor.
25. The easiest way to do this, is use a floor jack to lift it so it’s lined up with the motor. This can be done by hand but can be difficult. Pull it over onto the motor.
26. Now that it’s lined up with the motor, go to the passenger side and drop the mechanism down so that the brush sits more aligned on the motor.
27. From the driver’s side, you’ll then pull the brush by hand onto the motor.
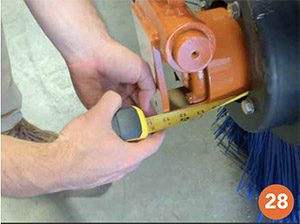
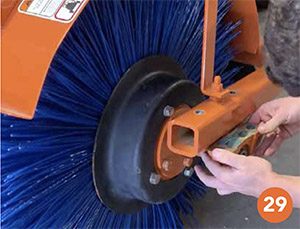
28. You want to make sure that the brush is on tight. Using a tape measure, line it up inside the end cap and push it all the way through. It should measure 13”. If it’s anymore, then that indicates the brush isn’t on and can cause wear.
29. Head back to the passenger side and reattach the idler bearing and put the lock nut back on. Hammer the nut back on counterclockwise using the punch and your hammer (the opposite direction you used while taking it off). Finally, tighten it with the Allen wrench.
30. The new brush should now be fully installed.
PARTS AVAILABLE
350 Series Wafer sets
RW-500 Poly set.
RW-502 Poly /Wire set
RW-828 Poly Convoluted set
RW-832 Poly / Wire Convoluted set
304290 Poly tube Broom
304289 Poly / Wire tube broom
250 Series Wafer Sets
344199 Poly Convoluted set
344120 Poly / Wire Convoluted set
344137 Poly Flat set
344148 Poly / Wire Flat set
350 Series cores
D-15-SPC Core w/ Bell End Caps
D-15-SPCA Core w/ Flat End Caps
D-15-8 Chain Drive 8”Core
250 Series Cores
850136
MK-1 Cores
855004
