Stereo
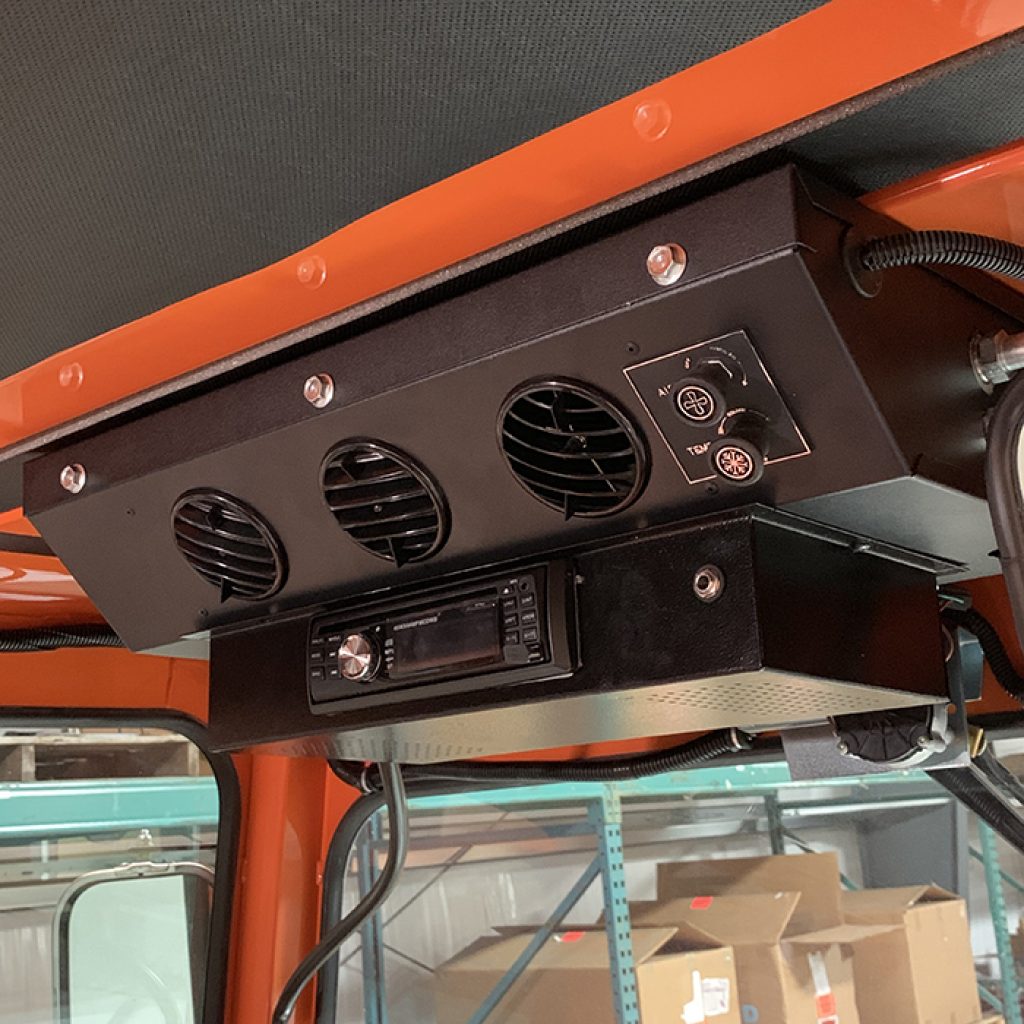
Part #4342
The stereo will be installed and mounted at the bottom of the AC unit. You will need to take care not to damage the AC pipes while drilling.
TOOLS NEEDED
7/32” & 21/64 Drill
Tape Measure
Screw Driver
Tape
Silver Marker
3/8 Nut Driver
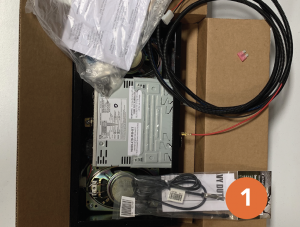
1. Your kit comes with everything you need to install your stereo including your antenna, wiring harness and fuse.
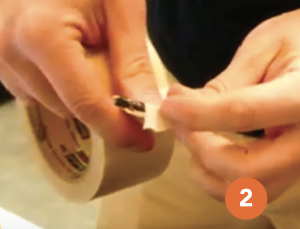
2. Before starting the install, we recommend taking the tape and about 1” from the end of the 7/32 drill bit, wrap the tape around the bit. This will help prevent damage to the AC pipes when you are drilling.
3.First thing you will be doing is attaching the antenna to the outside of the broom. Take your tape measure and measure 11” from the side of the broom and then measure 3” down from the top of the cab. Once drilled you can slide the antenna in and screw it in place.
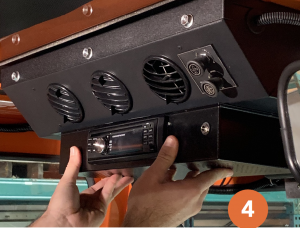
4. Next, take the stereo inside of the cab. You are going to want to line up the stereo flushed to the back in between the silver tabs. You’re going to have about 2 1/2” on the sides of the stereo. Take your silver pen and mark the holes on the sides for drilling.
5. Before you drill, if you have not already done so, wrap the tape around the bit about 1” down so that you don’t drill into and damage the AC pipe.
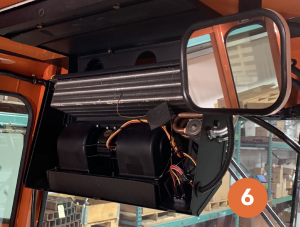
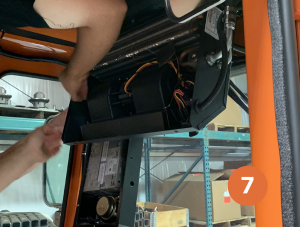
6. Once the holes have been drilled, loosen up the screws on the back of the AC system and remove the 3 from the front. You will then unhook the cover and it will swing down from the top of the cab.
7. It’s easier to start on the left side because it’s more open and you can get one of the bolts in easier. Once that’s in, let the stereo swing down and move to the other side and finish bolting that side in.
8. Now that the stereo has been attached to the AC unit, swing it back up in place and put the screws back in to the AC unit and tighten them down. You may need an oversized screwdriver to make sure that the AC lid locks back into the top portion of the cab.
9. Once the AC is done, screw down the stereo and tighten it in place.
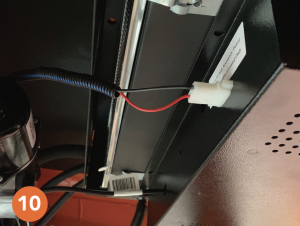
10. Now you will go to the backside of the stereo and finish running the wiring. Take the wire and clip it into the back of the cab. Next, run it along the top of the cab and pull it down on the passenger side of the unit through the floor. We recommend pulling it through the two rings to keep it organized with the other cables and out of the way.
11. Once you have run the wire through the floor, you will need to run it back up from the bottom of the machine into the dash.
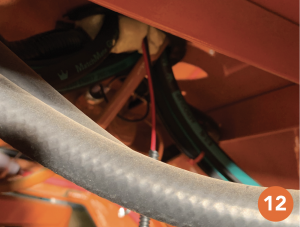
12. Find the hole where all the cables are running back into the dash. You will need something like a screwdriver to cut through the foam so that you can pull the wiring back through the dash.
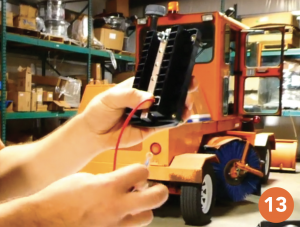
13. Once back in the cab you will plug this into the fuse box. The fuse box is mounted to the front. Look for slot 21 in the back and plug in the red wire. Then just below the fuse box you will plug the ground wire into the ground stud. Once in, use the nut we provide to bolt the ground wire in.
14. Now that you are done, close up the dash. Now on the front side under the steering wheel, you’re going to take the provided number 4 fuse and plug it into the number 1 slot.
