Strobe and Beacon
Beacon Kit #4130
Strobe Kit #4131
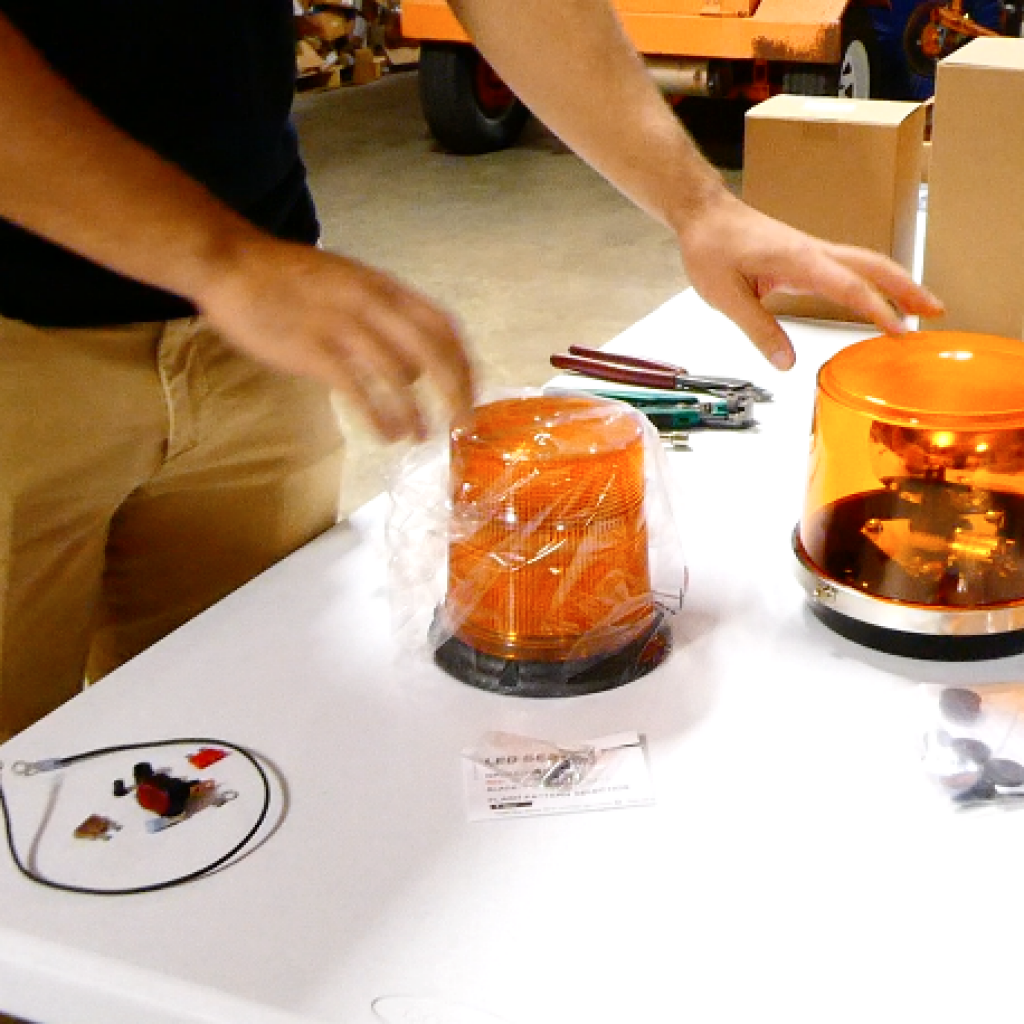
Both lights come with their mounting screws and informational leaflets as well as an install package provided by Broce. The install package contains wires, fuses, dashboard switch and any other components needed.
TOOLS NEEDED
- Crimper
- Wire stripper
- 3/8″ nut driver
- 3/8″ wrench
If installing the beacon, it comes with some additional items in the kit to put it together. If you purchased the strobe, you can skip this section and move on to “Installing the
dashboard switch”.
Beacon Assembly
1. Follow the instructions supplied with the beacon assembly.
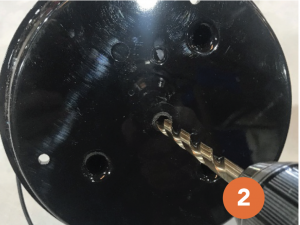
2. Drill a 3/8” hole in the center of the bottom of the beacon.
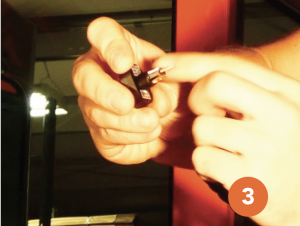
3. Locate the 2 red wires with a single female spade. Cut off the female spade and crimp both red wires back together with the
supplied male bullet.
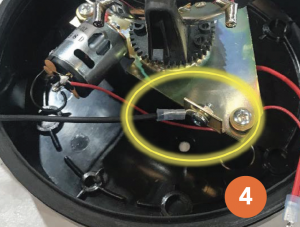
4. Install the black ground wire that has only one blue eyelet to the inside of the beacon with the supplied 10x24x.50” machine screw with a serrated nut. (See highlighted in step 4 image on previous page.)
5. Run both wires through the 3/8” hole that is drilled into the bottom of the beacon. Then push through the plastic bushing to keep the wires from chaffing.
Install the dashboard switch
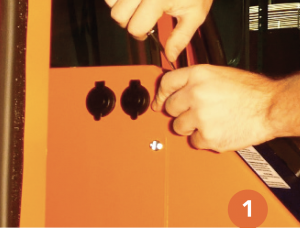
1. Come into the cab and to the left top side of the dash, there will be a plug you need to take out.
2. Unscrew the back of the light switch.
3. On the back it says, earth, load and
supply. Make sure “earth” is on the top when you put it into the plug.
4. Next, remove the panel on the left-side of the dashboard and unplug the two USB plugs and you are ready to start the wiring process.
5. Inside the panel you will see 2 wires that are blue with a yellow stripe and a black wire all tied together.
NOTE: Your black wire is the “ground”, one of the blues will be your “supply” from the fuse box and the other will be the one that is going to your strobe or beacon light.
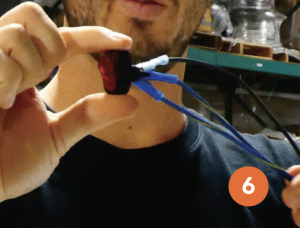
6. Once you have your switch plugged in, you’re going to take your black ground wire and plug it into the top of the switch.
7. Next, you’ll take the wire from the wire
harness, which is from your strobe, and plug that into the middle one.
8. Last, the wire that’s coming from your fuse box, you’re going to plug in last.
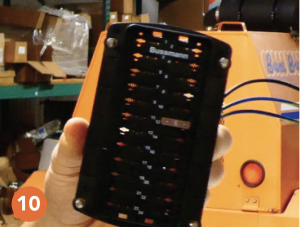
9. Once you have it wired up, you’re going to need to plug the fuses into the fuse box.
10. For the strobe, take the #5 fuse and plug it into slot 12. For the beacon you would use a #10 fuse.
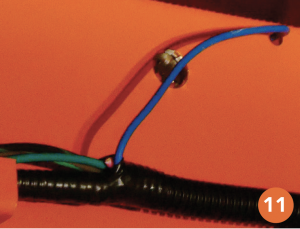
11. Now you need to locate the wire harness at the top. You’re going to first pull out the blue wire.
12. Just to the top right of the harness, you’ll see a little metal button, just push it out and then slip the blue wire in the open hole.
13. Now that the work has been done on the inside of the cab, you are ready to move to the outside and install your strobe or beacon light.
Installing the light
14. With the blue wire through the hole, take your wire stripper and strip the blue wire about ¼”.
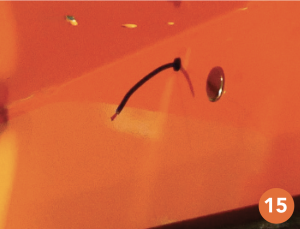
15. Take the black plastic busing and slip it over the wire and back into the whole. This keeps the wires from chaffing.
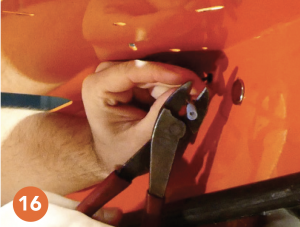
16. Next, take the female end of the bullet and slip it on. Crimp it down and then you’re ready to connect the light.
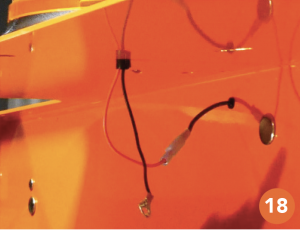
17. Take one of the black bushings and put it around the wires attached to the lights. From the top of the cab, feed those wires through the open middle hole. Then slip the black bushing down into the hole again to keep the wires from chaffing.
18. Take your red wire with the male bullet (attached to the light) and feed it into the black wire coming from the cab into the
female bullet. Crimp them together.
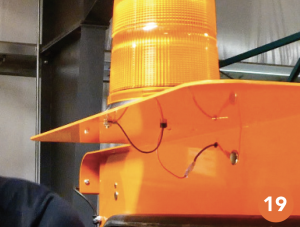
19. From the top of the cab, place a screw through the open hole in front of the light. Take the remaining lack ground wire and
attach it to the screw and bolt it in place.
20. Put the remaining 2 screws into the light in order to stabilize it to the cab.
PARTS AVAILABLE
Beacon Kit #4130
Strobe Kit #4131
